Puff 3D Embroidery
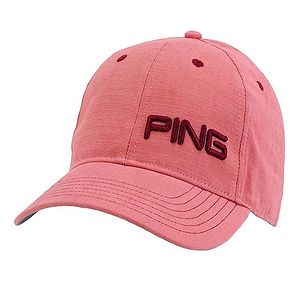
Puff 3D Embroidery is a type of embroidery where the embroidery looks raises. This effect is usually done with foam. Special digitizing and embroidery techniques are used to crease Puff 3D Embroidery.
Capable Embroidery Machines
All embroidery machines should be capable of embroidering Puff 3D Embroidery.
Digitizing Steps
When digitizing for Puff 3D Embroidery, special steps must be done in order to have the puff look. Most predigitized designs WILL NOT work well for puff unless they were specifically digitized for puff.
Embroidery Steps
When embroidering for 3D Puff embroidery the tensions should be a little bit more loose than normal on the needle that will embroider the puff thread. If the design was digitized for 3D Puff, then it should have a color change or stop stitch. On the machine, this color change should be entered blank or without a number. Most embroidery machines will stop embroidering once it gets to an empty color change.
Once the machine stops, a piece of foam should be placed on top of the embroidery area. This foam is what is used to raise the stitches.
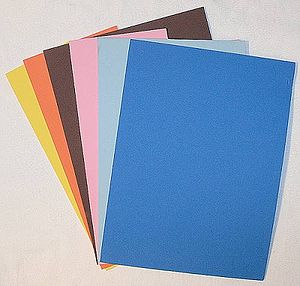
Fun Foam can usually be found at craft stores in sheets. The same color sheet should be used as the color of the thread. The foam sheets can then be precut for the embroidery area.
Once the is done embroidering the Puff area, the excess foam can be pulled off by hand or with tweezers.
3D Puff Video
{{#ev:youtube|http://youtu.be/-h1MKOVjud4%7C450%7Ccenter%7C3D Puff Embroidery}}

